Boiler pressure issues can be frustrating, but they’re often easy to fix. If you’re experiencing low pressure in your Ideal boiler, you might need to repressurise it. This is a common maintenance task that every homeowner can handle on their own. In this guide, we’ll walk you through the simple process of repressurising your Ideal boiler in 2025, ensuring your heating system works efficiently and effectively.
Why Does Your Ideal Boiler Lose Pressure?
Before we dive into the process, it’s important to understand why your Ideal boiler might lose pressure. There are a few common reasons:
- Leaks in the System: A small leak in your central heating system or pipes can cause the pressure to drop over time.
- Air Trapped in the System: Air bubbles can build up in the pipes,causing the pressure to fluctuate.
- System Overheating: If your boiler overheats, the pressure may drop as part of a safety feature to protect the system.
- Faulty Pressure Relief Valve: If the pressure relief valve is malfunctioning, it can cause the system to lose pressure unexpectedly.
Knowing the cause of the pressure drop can help you address any underlying issues, but in most cases, repressurising your boiler will resolve the problem.
Step-by-Step Guide: How to Repressurise an Ideal Boiler
Repressurising your Ideal boiler is a straightforward process. Just follow these steps:
1. Turn Off the Boiler and Let It Cool Down
Before starting, make sure your boiler is off and has cooled down completely. This is important for your safety and to prevent any burns or injuries.
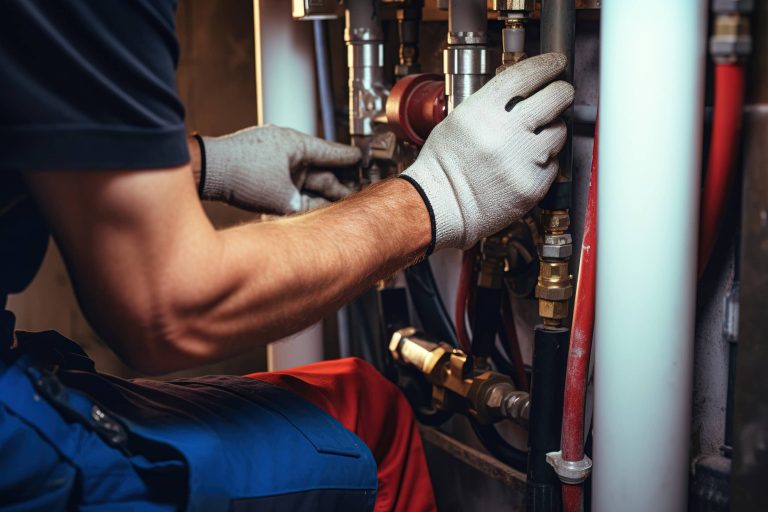
2. Locate the Filling Loop
The filling loop is a small flexible pipe that connects the boiler to the mains water supply. On most Ideal boilers, you can find it underneath the boiler unit, but it may be in a different location depending on your model.
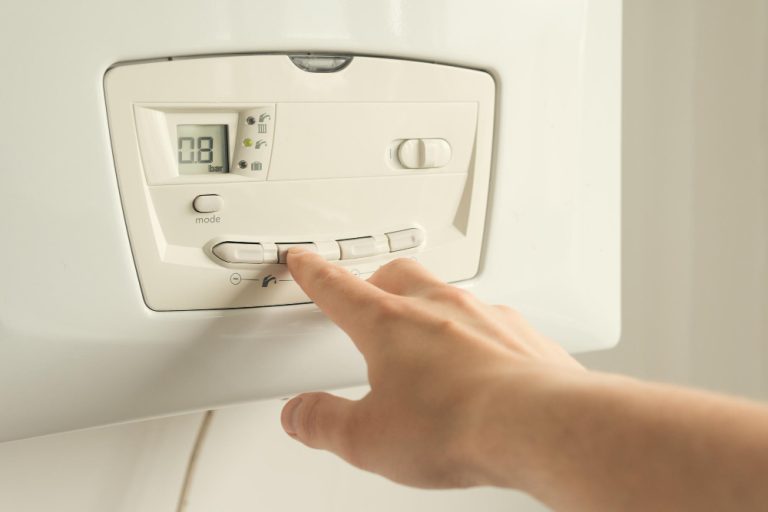
3. Check the Pressure Gauge
Look at the pressure gauge on your boiler. The ideal pressure should be between 1 and 1.5 bar when the system is cold. If the pressure is lower than this, it’s time to repressurise.
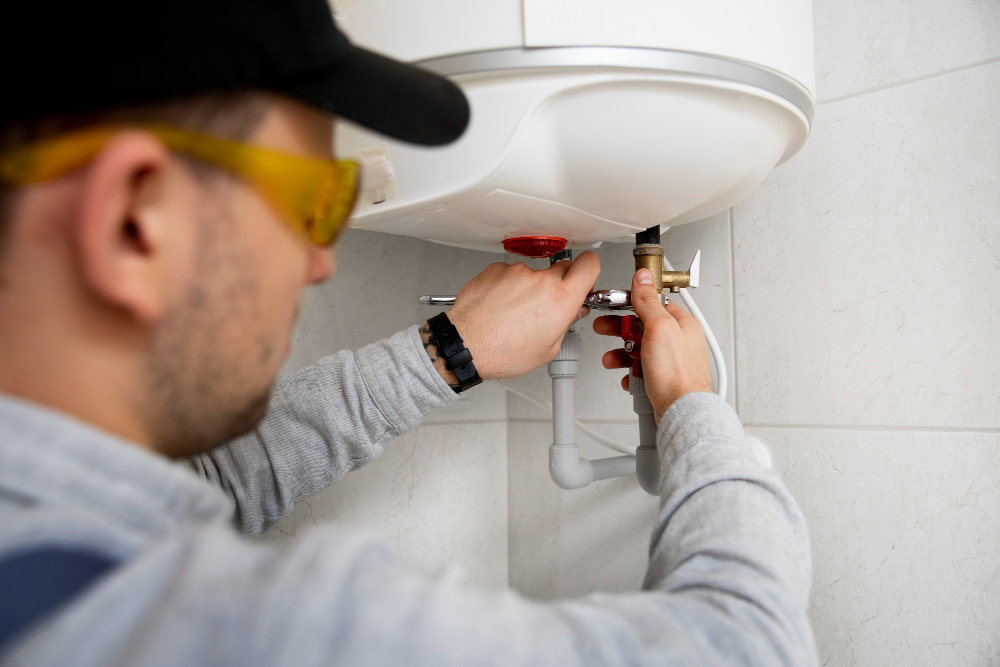
4. Connect the Filling Loop
If the filling loop isn’t already attached, connect the two ends to the water valves. One end should connect to the boiler’s inlet valve, and the other should connect to the mains water supply valve.
5. Open the Valves
Once the filling loop is in place, open both valves slowly. You should hear the water flowing into the system. Watch the pressure gauge closely as the pressure starts to rise.
6. Close the Valves
Once the pressure reaches the ideal range (between 1 and 1.5 bar), close both valves tightly to stop the water flow. Be careful not to overfill the system, as too much pressure can cause further issues.
7. Remove the Filling Loop
If the filling loop was detached during the process, make sure to remove it once the pressure is correct. Leave it in a safe place for any future use.
8. Check the Pressure Again
After repressurising, check the pressure gauge one more time to ensure it remains steady at the correct level. If the pressure is still low, repeat the process or check for any leaks in your system.
9. Turn the Boiler Back On
Once you’ve set the correct pressure, turn your Ideal boiler back on. Your system should now be functioning properly.
BOOK AN IDEAL BOILER INSTALLATION
When to Call a Professional
If the pressure in your Ideal boiler continues to drop after repressurising, or if you’re unable to fix the issue, it might be time to call a professional. A gas engineer can check for any underlying issues, such as leaks, faulty components, or an issue with the pressure relief valve.
Repressurise an Ideal Boiler with Boiler Sure
Repressurising your Ideal boiler is an easy task that can save you from costly repairs and prevent your heating system from breaking down. By following these simple steps, you’ll ensure your boiler is running efficiently and keep your home warm and comfortable. If you need assistance or have ongoing pressure issues, Boiler Sure is here to help with reliable services and advice.